
Application Integration with Apache Camel
07 Jul 2019Apache Camel is a very useful tool when it comes to integrating different systems and technologies. In this post I will introduce some of its concepts and show how you can test and run your application using Spring Boot.
Apache Camel
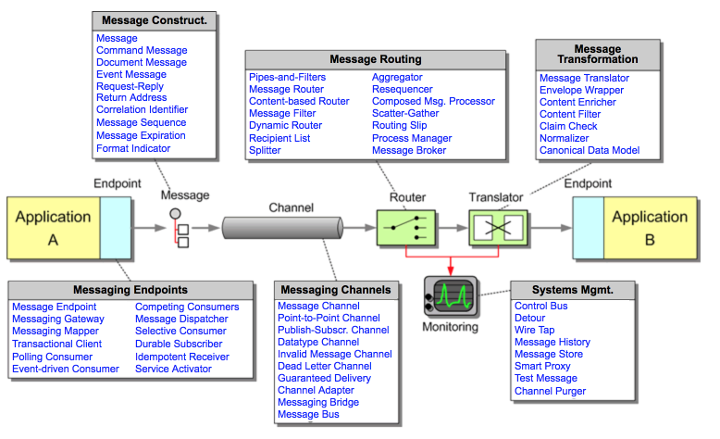
Camel is an implementation of many integration patterns, mostly inspired by the book Enterprise Integration Patterns. Messages are passing through channels from endpoint to endpoint and along the way they can be translated, filtered and routed to other channels/endpoints. This is taken from the website for the book:
Besides the integration patterns Apache Camel offers implementations of many protocols and technologies in its components. This means not only can you build your application based on the patterns above but there is also the groundwork for doing technical integrations, one example being reading files from an FTP server or downloading data from an email server.
To use Camel effectively you need to understand a few concepts.
Endpoints
Endpoints describe how to access external systems. Each endpoint is handled by a component which registers endpoint prefixes during runtime. Some components are available with the core camel dependency, some need to be added explicitly. Examples for components are the MailComponent, for receiving and sending emails, RabbitComponent for use with RabbitMQ and FileComponent, that provides functionality for reading and writing files.
Endpoints are being configured by URIs. Each component provides a prefix that determines if it's responsible for an URI. An example URI for the FileComponent:
file:/opt/storage?move=.success&moveFailed=.error
This will poll the directory /opt/storage for new files. If a file is processed successfully it is moved to the folder .success, if there is an error, it is moved to .error.
Another example for RabbitMQ, that can be used for sending or receiving messages.
rabbitmq://host:5672/?username=op&password=op
The documentation of the components normally provides a table with a description of all the parameters that are available.
Routes
Endpoints are being connected by Routes. Most of the time you will use the nice Java DSL which is available if you extend your class from RouteBuilder. A simple example that polls files from a folder and writes them to RabbitMQ:
from(“file:/opt/attachments”).to(“rabbitmq:host:5672/”);
Besides directly connecting endpoints you can also use filter to skip some messages and choice to send them to different endpoints. Or you can have any other processing that you wish in between.
Exchanges
Exchanges are containers for the current message flow, not to be confused with the term Exchange in the AMQP world. It's a wrapper the contains the in/out message and potential errors. A message consists of a header, that might keep component specific information like the filename for the FileComponent, and a body.
Processor
A Processor is anything that does work in a route, filter and choice mentioned above are processors. But you can also do other tasks by implementing the Processor interface, e.g. if you want to do some transformation.
@Override
public void process(Exchange exchange) throws Exception {

}
This processor can be registered in the route by adding a .process(new MyProcessor()).
Testing
Camel provides support for testing routes in isolation by replacing endpoints with mock endpoints, injected using AdviceWithRouteBuilder. Messages can be sent to you endpoints using the MessageProducerTemplate. You can then assert that a message is arriving at the mock endpoint.
MockEndpoint resultEndpoint = getMockEndpoint("mock:result");
resultEndpoint.setAssertPeriod(1000);
resultEndpoint.setExpectedMessageCount(1);

writeToInputFolder(getClass().getResourceAsStream("/transaction-report.csv"));
resultEndpoint.assertIsSatisfied();
Testing can be a bit special when it comes to Apache Camel as some of the processing is being done asynchronously.
Runtime
When using Camel standalone you have to take care to start a CamelContext, which holds all the configured components and routes. When using Spring Boot you can use the spring-boot-camel-starter that will manage the CamelContext for you. You just create routes and annotate the methods with @Bean. By setting the property camel.springboot.main-run-controller=true the application will stay alive even if you haven't included something like Spring MVC.
Conclusion
I really like the model of Apache Camel. It provides asynchronous processing and you can decouple different parts of the processing, e.g. by first downloading files to a certain folder and then parse them in another route. Both of those tasks can run in isolation. Besides all the different protocols that are implemented Apache Camel also provides solutions for cross cutting concerns like error handling.
The declarative approach can make it a bit harder to start for beginners but once you find your way around there is also a lot of potential.